SpeedyPro
Member
- First Name
- John
- Joined
- Jan 24, 2018
- Threads
- 1
- Messages
- 32
- Reaction score
- 33
- Location
- Michigan
- Vehicle(s)
- 2017 Civic Hatch EX
- Thread starter
- #1
Last weekend I installed the TRS Retro-Quik kit for Civic X. The TL;DR version is this: the lights are way brighter and nicer than the OEM halogen lights, took me the better part of the weekend to do everything.
Here's the contents of the full kit, minus the projectors. I got the 5500k bulbs. I had to email them to send the projectors afterward, they forgot to send them!

On the TRS site, scroll down to the "What's included" section. Click on the individual components to find the installation instructions for each component.
First thing's first, pull off the bumper. I used a youtube video and a thread from this forum. Thing to note: for the tabs holding the bumper on the headlight, push your flathead straight down into the slot while pulling out on the bumper gently. The tabs need to be pushed down, not outward or inward.

Next, pull the headlights. Youtube. I had to use a 3" and 6" extension and an extended socket to reach the buried bolt on the bottom.
Here's a headlight ready to be unplugged and pulled out:

At this stage, just unplug the connectors and pull the harness off. Once the headlight is out, take off the two bolts and bracket, and you'll have this:

Take out the bulbs, seals, and screws around the perimeter of the light, then it's ready for the oven. I put it in the oven for 13 minutes on 200 degrees F. YMMV. Once out, GENTLY pry the lens with a flathead. Don't be overzealous here, or you'll screw up the black plastic.
I don't have pictures of the next few steps, refer to the other thread linked above for removing the DRL, reflectors, and existing projector.
This is the OEM projector:

You're replacing this with the kit's projector and bracket. Here's where we run into the first snag. The supplied bracket doesn't fit:

I decided to file it down. You could use a jigsaw or something if you have one. I used the OEM bracket to trace where I needed to file.


There we go...it fits! I cleaned it up a bit after this, but it's still a bit rough. It's okay, no one will ever see it.

Now, unscrew the six screws holding the Morimoto projector to it's reflector, and install the bracket. You can only put it on one way, so you can't mess it up.

The screws included with the kit bracket don't work, so use the OEM screws to install the projector back into the large reflector.
Some thinking required now. If you want the wires for the cutoff shield to go through the rubber grommet of the bulb, pull out a bulb and run those through the grommet now. Once that's complete, you can install the wires into the connector. If not, you can just install them into the connector. If you don't do this, it won't look as neat (and I did on the first one before realizing my mistake). However, the grommet doesn't seal against the OEM seal anyway, so it doesn't matter a whole lot. There's not a lot of space when the reflector is reinstalled to the headlight, so I inserted the small connector into the projector housing first. I then reinstalled the headlight components, minus the lens and bulbs back into the headlight.

At this point, grab an HID bulb (if you haven't already), and throw it in there. Connect the halfway constructed headlight to your car and turn the lights on. Verify the beam is horizontal. Note your headlight might be crooked if you don't stick it all the way back into its mounting position. It should be horizontal, if it's not, you fucked something up and don't ask me how to fix it haha, 'cause I don't know how! Anyway, once verified, you can unplug it and get ready to put the lens back on.
You can leave the bulb installed or not, I left mine in. Use a soft microfiber cloth to wipe the projector lens, and maybe the inside of the headlight lens, then insert the headlight lens back into the groove of the headlight and press together a bit. *edit* I did not use the reseal that I got with the kit. I didn't lose too much of the existing glue, so I didn't think it necessary. */edit* Throw it back into the oven, and once out, clamp down the edges and reinstall the screws. Wait for half an hour for it to cool down, then you can put the other bulbs and seals back in. I put the large silicone adapter next to the rubber grommet to try to match up to the seal. Unfortunately, I forgot to take a picture of that.

Headlights are done. Time for the harness stuff.
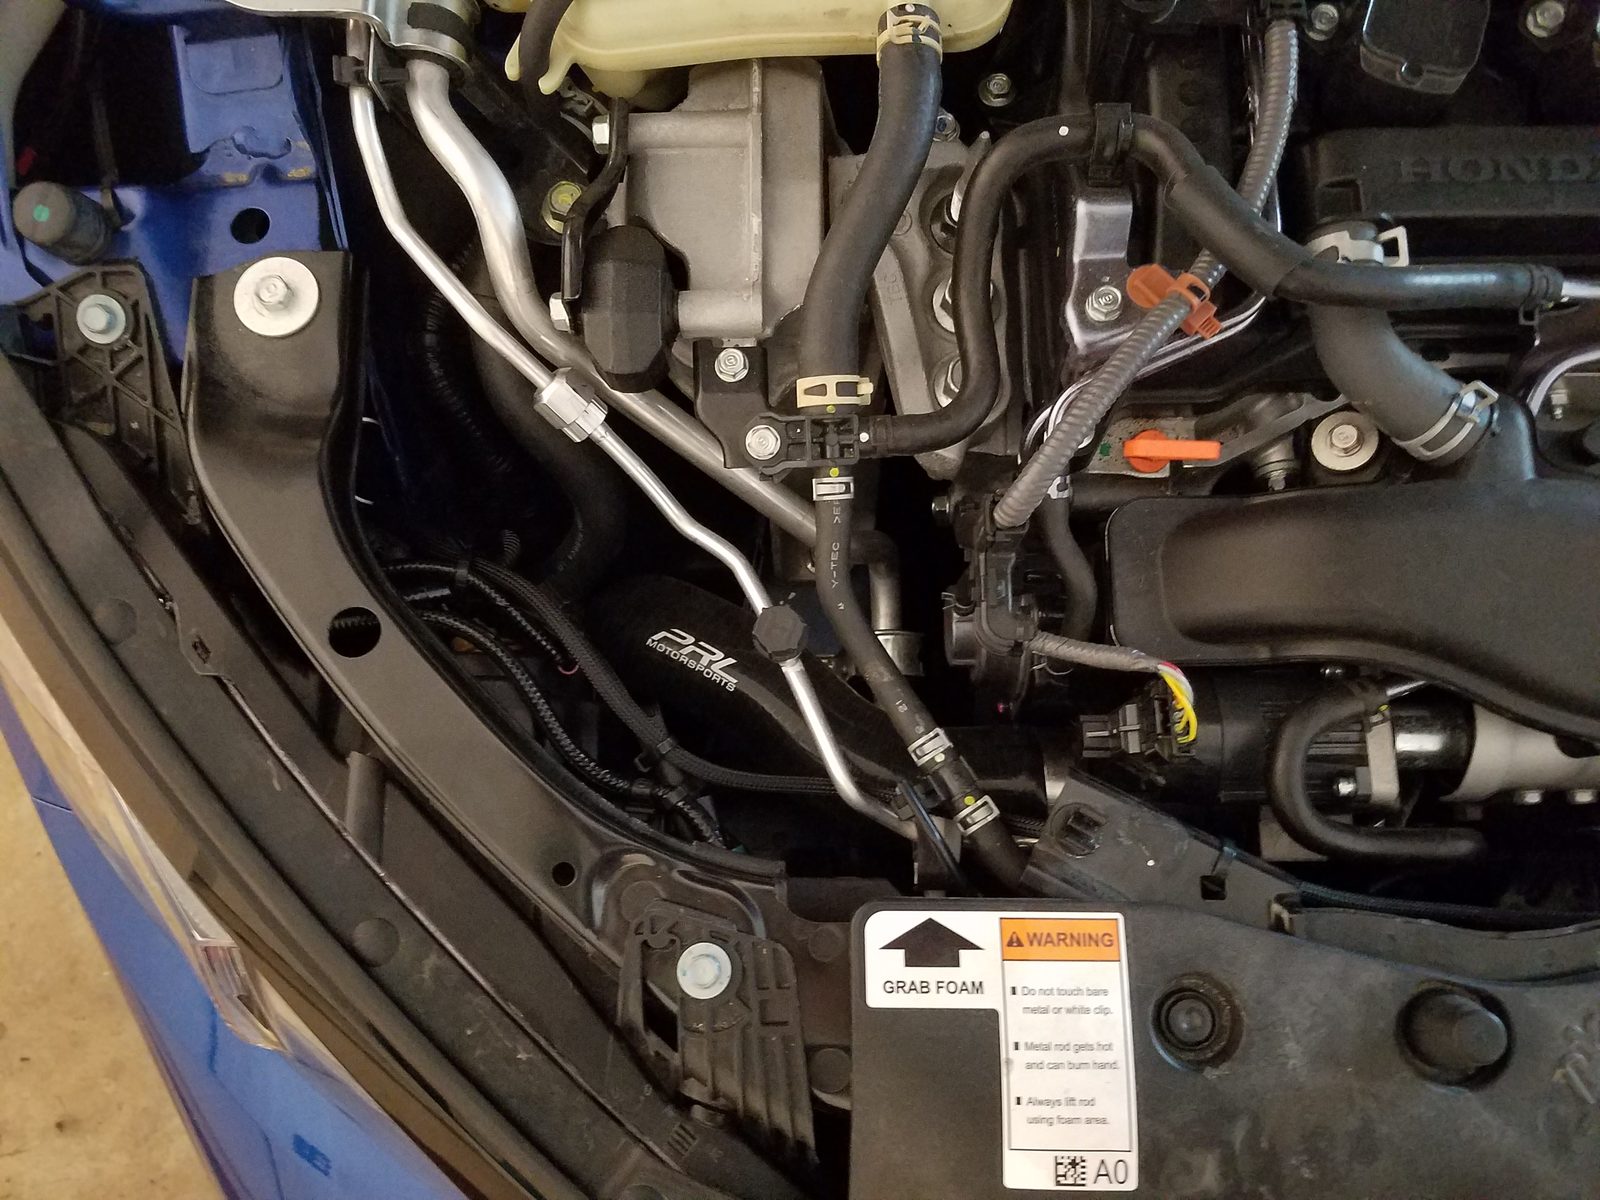
Figure out how you want your harness to run. Due to the lengths of the leads, you could potentially put the relay on either side, but I think it's preferable to have it on the driver's side. I wanted the driver-side headlight connector attached to the relay lead. I ran my pass ballast lead over the radiator fan, and put the ballasts near the fender. Here's some pictures:

Note the splitter attached to the hi-beam lead.

Low beam on this side not attached to anything.

Pass ballast lead over the rad fan.

Attached the (+) lead to the battery, (-) lead to the stud behind the fuse box. I may move the (+) to the fuse box in the future.
I used double-sided 3M outdoor tape to attach the ballasts to the body on both sides. I liked how it kept the ballasts hidden. That might be a pain if they fail, but I'm hoping they are good for a while.


Once you have the harness ready to go, you can reinstall the headlights. Connect one hi-beam splitter to the hi-beam, one to the solenoid connector on the HID. I gathered the loose bits of the harness and zip-tied them together while putting the headlight back in so they wouldn't flop around.
Here are some pictures of my final setup:


And, finally, some night shots...Not all the greatest quality, and I forgot to lock white balance.
Before:

After:

Before:

After:

After with fogs:

After hi-beam (sorry, forgot the before on this one!). The hi beams are really really fucking bright now:


One thing I did remember is that I can slow my phone camera's shutter speed down, so I got some cool shots of the headlights you can't usually see. With the camera ready, I could see the pulse of the DRLs. The picture will only show part of them. Left and right pulse at different rates (I think the right was slower).


Edit 1: Added note about reseal (I didn't use it; didn't lose very much glue).
Here's the contents of the full kit, minus the projectors. I got the 5500k bulbs. I had to email them to send the projectors afterward, they forgot to send them!
On the TRS site, scroll down to the "What's included" section. Click on the individual components to find the installation instructions for each component.
First thing's first, pull off the bumper. I used a youtube video and a thread from this forum. Thing to note: for the tabs holding the bumper on the headlight, push your flathead straight down into the slot while pulling out on the bumper gently. The tabs need to be pushed down, not outward or inward.
Next, pull the headlights. Youtube. I had to use a 3" and 6" extension and an extended socket to reach the buried bolt on the bottom.
Here's a headlight ready to be unplugged and pulled out:
At this stage, just unplug the connectors and pull the harness off. Once the headlight is out, take off the two bolts and bracket, and you'll have this:
Take out the bulbs, seals, and screws around the perimeter of the light, then it's ready for the oven. I put it in the oven for 13 minutes on 200 degrees F. YMMV. Once out, GENTLY pry the lens with a flathead. Don't be overzealous here, or you'll screw up the black plastic.
I don't have pictures of the next few steps, refer to the other thread linked above for removing the DRL, reflectors, and existing projector.
This is the OEM projector:
You're replacing this with the kit's projector and bracket. Here's where we run into the first snag. The supplied bracket doesn't fit:
I decided to file it down. You could use a jigsaw or something if you have one. I used the OEM bracket to trace where I needed to file.
There we go...it fits! I cleaned it up a bit after this, but it's still a bit rough. It's okay, no one will ever see it.
Now, unscrew the six screws holding the Morimoto projector to it's reflector, and install the bracket. You can only put it on one way, so you can't mess it up.
The screws included with the kit bracket don't work, so use the OEM screws to install the projector back into the large reflector.
Some thinking required now. If you want the wires for the cutoff shield to go through the rubber grommet of the bulb, pull out a bulb and run those through the grommet now. Once that's complete, you can install the wires into the connector. If not, you can just install them into the connector. If you don't do this, it won't look as neat (and I did on the first one before realizing my mistake). However, the grommet doesn't seal against the OEM seal anyway, so it doesn't matter a whole lot. There's not a lot of space when the reflector is reinstalled to the headlight, so I inserted the small connector into the projector housing first. I then reinstalled the headlight components, minus the lens and bulbs back into the headlight.
At this point, grab an HID bulb (if you haven't already), and throw it in there. Connect the halfway constructed headlight to your car and turn the lights on. Verify the beam is horizontal. Note your headlight might be crooked if you don't stick it all the way back into its mounting position. It should be horizontal, if it's not, you fucked something up and don't ask me how to fix it haha, 'cause I don't know how! Anyway, once verified, you can unplug it and get ready to put the lens back on.
You can leave the bulb installed or not, I left mine in. Use a soft microfiber cloth to wipe the projector lens, and maybe the inside of the headlight lens, then insert the headlight lens back into the groove of the headlight and press together a bit. *edit* I did not use the reseal that I got with the kit. I didn't lose too much of the existing glue, so I didn't think it necessary. */edit* Throw it back into the oven, and once out, clamp down the edges and reinstall the screws. Wait for half an hour for it to cool down, then you can put the other bulbs and seals back in. I put the large silicone adapter next to the rubber grommet to try to match up to the seal. Unfortunately, I forgot to take a picture of that.
Headlights are done. Time for the harness stuff.
Figure out how you want your harness to run. Due to the lengths of the leads, you could potentially put the relay on either side, but I think it's preferable to have it on the driver's side. I wanted the driver-side headlight connector attached to the relay lead. I ran my pass ballast lead over the radiator fan, and put the ballasts near the fender. Here's some pictures:
Note the splitter attached to the hi-beam lead.
Low beam on this side not attached to anything.
Pass ballast lead over the rad fan.
Attached the (+) lead to the battery, (-) lead to the stud behind the fuse box. I may move the (+) to the fuse box in the future.
I used double-sided 3M outdoor tape to attach the ballasts to the body on both sides. I liked how it kept the ballasts hidden. That might be a pain if they fail, but I'm hoping they are good for a while.
Once you have the harness ready to go, you can reinstall the headlights. Connect one hi-beam splitter to the hi-beam, one to the solenoid connector on the HID. I gathered the loose bits of the harness and zip-tied them together while putting the headlight back in so they wouldn't flop around.
Here are some pictures of my final setup:
And, finally, some night shots...Not all the greatest quality, and I forgot to lock white balance.
Before:
After:
Before:
After:
After with fogs:
After hi-beam (sorry, forgot the before on this one!). The hi beams are really really fucking bright now:
One thing I did remember is that I can slow my phone camera's shutter speed down, so I got some cool shots of the headlights you can't usually see. With the camera ready, I could see the pulse of the DRLs. The picture will only show part of them. Left and right pulse at different rates (I think the right was slower).
Edit 1: Added note about reseal (I didn't use it; didn't lose very much glue).
Last edited:
