GT350_Si
New Member
- First Name
- Cj
- Joined
- Dec 26, 2021
- Threads
- 1
- Messages
- 3
- Reaction score
- 7
- Location
- Pasadena Tx
- Vehicle(s)
- 2016 GT350, 2019 Civic Si FC3
- Thread starter
- #1
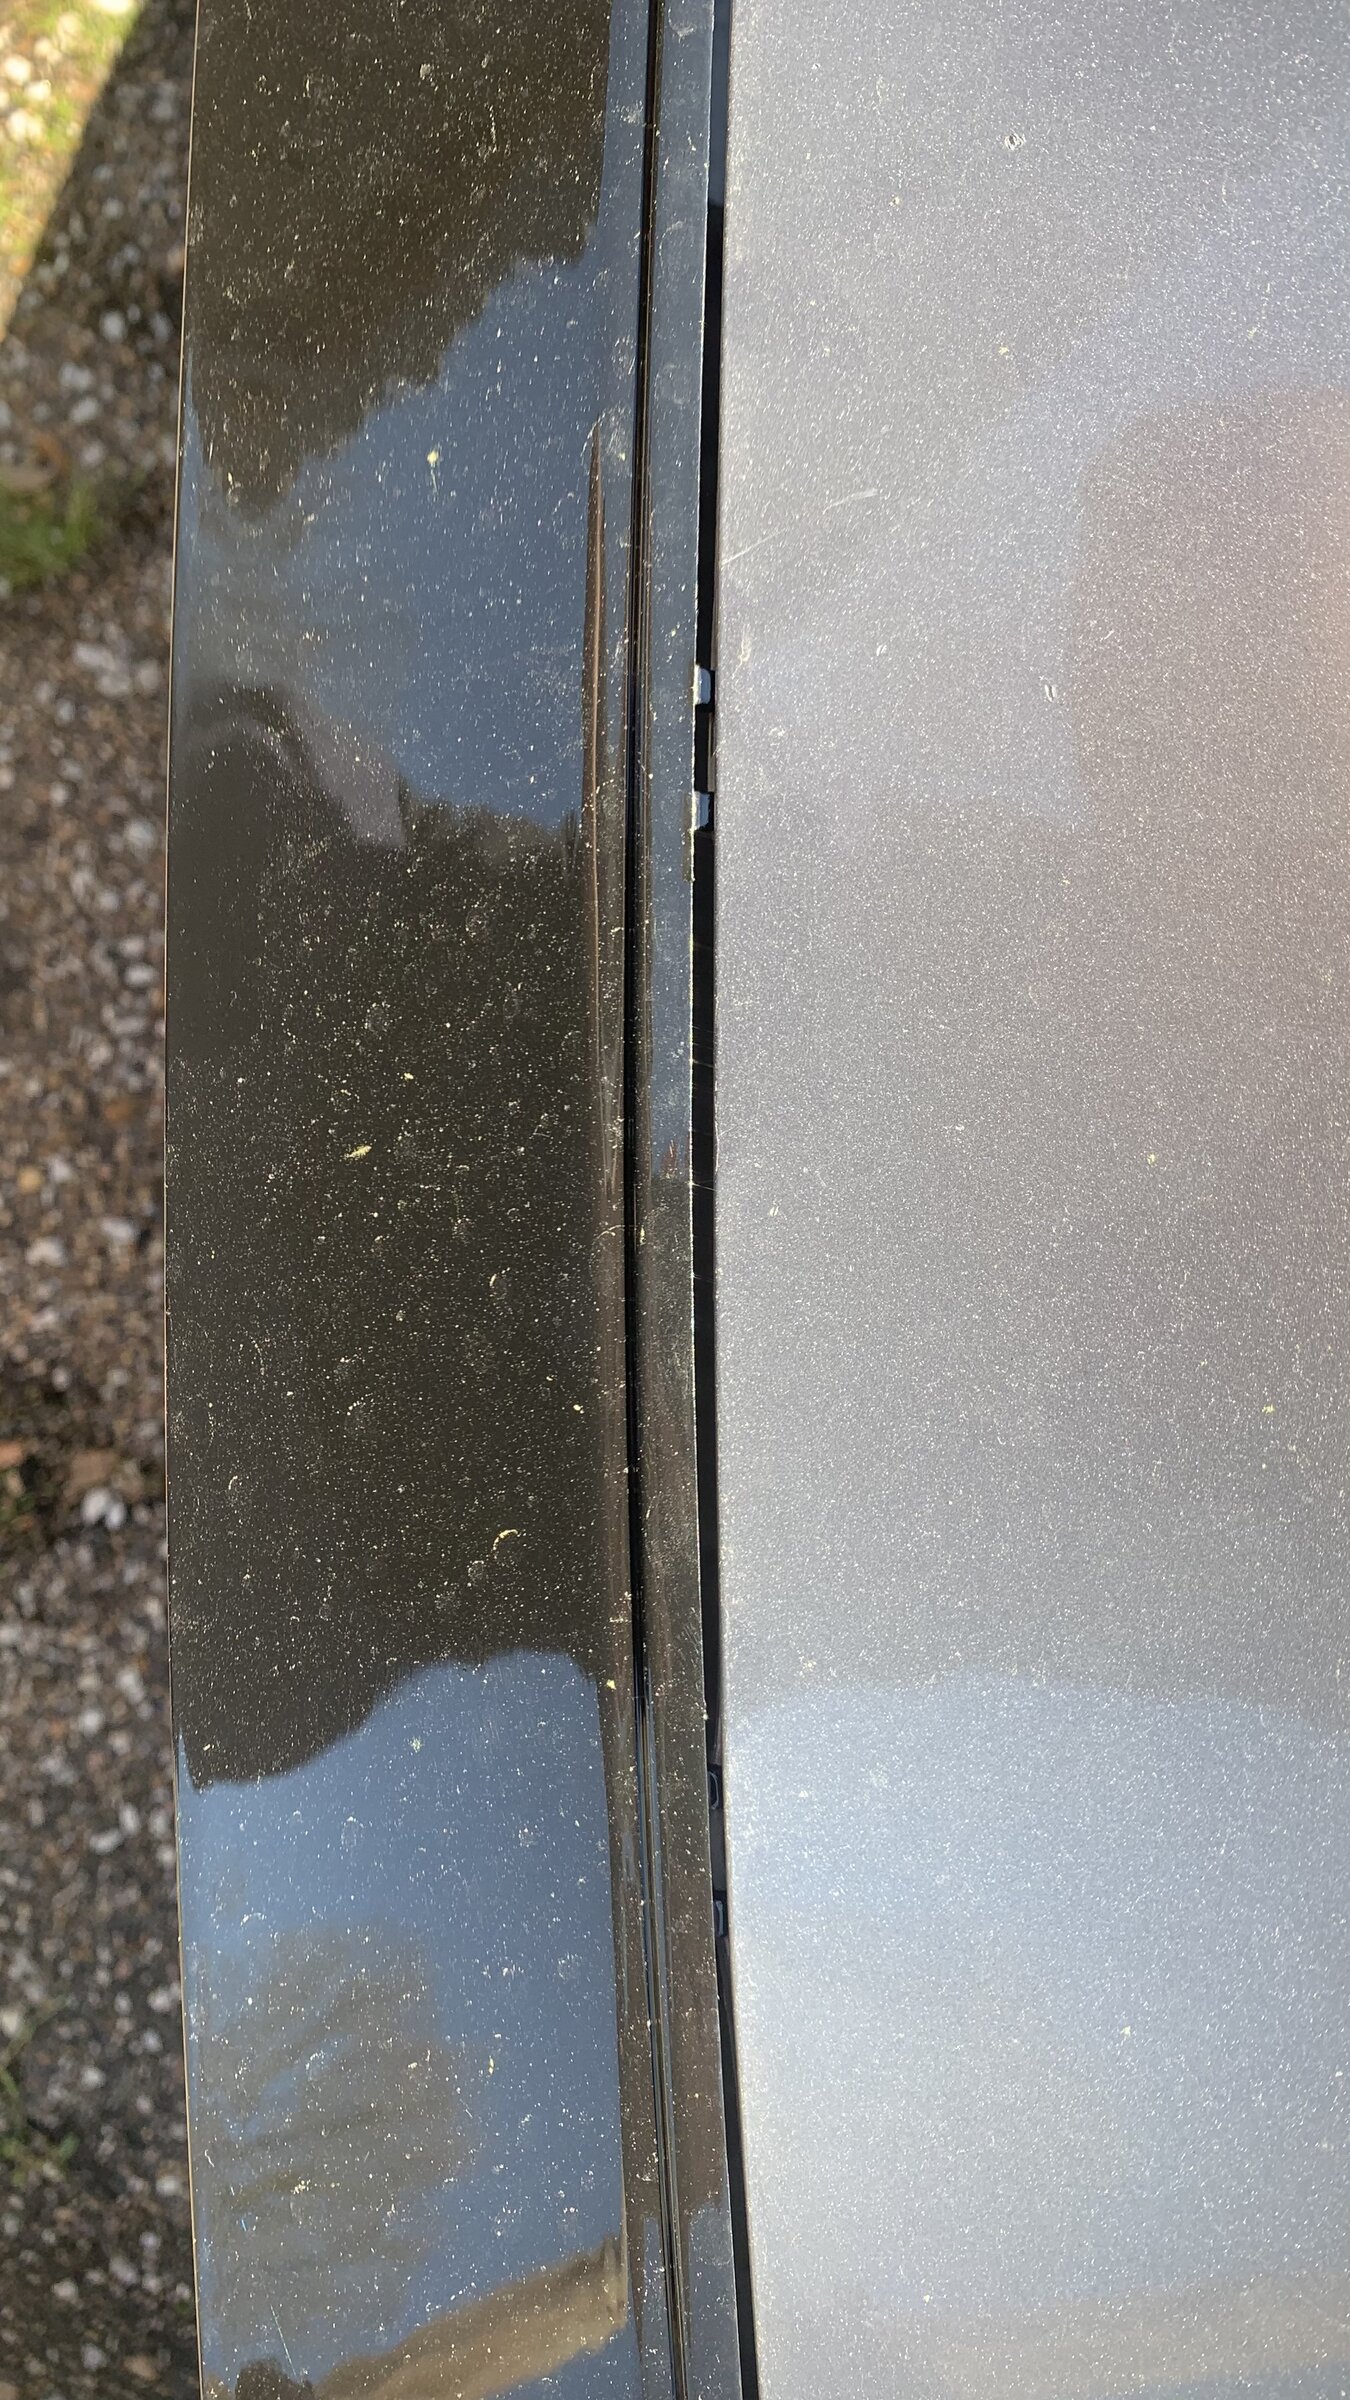
First post here so I hope I have this in the right place. My car is a 2019 FC3 Si. I purchased the American modified grill and installed it and gained a much unwanted grill gap over 3-4 days of my car just sitting in my driveway.

Now I know the 10th gen is plagued with shoddy grill fitment wether new OEM or aftermarket. We know about the tabs and we’ve seen several solutions from glue, brackets and zip ties so let me add to your box of tricks.
First thing I did was start looking through all the forums and comparing beams. I noticed is several models don’t have the additional brace/reinforcement/bracket/a.t.s. holder - whatever you want to call it.
My grill when pushed in to close the gap had resistance against it but I couldn’t really tell from where and it would just separate instantly. Looking back at my stock grill I can see where it’s been rubbing on this brace as well. Back to my car looking at the brace, I can clearly see the stock one has been rubbing the top of this bracket.
this is from the OEM grill rubbing and it’s on both sides of the bracket

With some closer inspection I found the screws that hold the mesh grill on were not only coming in contact with the brace but digging into it as well. My car is accident free so nothing is misaligned or repaired.
This is the mark from the screw on rhe new grill which is where the pushing out of the grill is coming from


I have already reached out to American modified customer support who’s time zone is GMT+8 (annoying a.f.) and was told basically that I need to swap to a conversion R bumper. Which I’m not doing as I really like the lines of the stock si bumper. With that, it’s off to do some sketchy stuff doo daa.
• First I removed the bumper and got everything cleared out of the way. (I’ve already done this once and on the initial install I did cut out the center section of the bumper)

•Next I shaved down the weld with a angle grinder using a cutoff wheel on the bracket. Be sure to cut 80% through the weld.

• I took my smallest hammer and a flathead screwdriver and gave it a good tap to break the weld. This method allowed me to keep more material on the main beam that I can re work after removal.
• From here, I use a pry tool and remove the a.t.s. push clip and the push clip holding the wiring behind the beam. Based on the images I’ve seen this sensor is mounted where it’s head sticks up just past the beam.

• I then took 1 j part of the push tab off (they are a j style push clip) and reused the hole the wire was secured to and shoved it in.
• With the sensor relocated I cut 80% through the 3 welds closest to the radiator.
• Using the flathead I worked the bracket up like a hinge back and forth till it came off. Once off I used a file to smooth out the left over material. Be extremely patient on the top as this will be visible past the grill.

(You can see the sensor here in its new place)

From here it’s a simple reinstall. I chose to add some zip ties behind the grill because I don’t want to come back in here. It’s hard getting stuff done during my daughters nap time ??


Once all back together I had zero gap and zero remorse. Some will argue we need the brace but to each their own. That being said do this at your own risk and I’m not liable for any damages that may occur in you doing so. I’m simply showing what my fix was for my issue with the grill gap. Not everyone is as anal about it as I will be but I wanted it to look right and fit right. Now it does. Hopefully this helps someone as I know this was a dice roll from the min I purchased the grill.
Go easy on me lol I tried.
Grill can be found here:
https://americanmodified.com/produc...MIw4CrhIbu9gIVYRbUAR3jIAcQEAQYASABEgLsy_D_BwE
Now I know the 10th gen is plagued with shoddy grill fitment wether new OEM or aftermarket. We know about the tabs and we’ve seen several solutions from glue, brackets and zip ties so let me add to your box of tricks.
First thing I did was start looking through all the forums and comparing beams. I noticed is several models don’t have the additional brace/reinforcement/bracket/a.t.s. holder - whatever you want to call it.
My grill when pushed in to close the gap had resistance against it but I couldn’t really tell from where and it would just separate instantly. Looking back at my stock grill I can see where it’s been rubbing on this brace as well. Back to my car looking at the brace, I can clearly see the stock one has been rubbing the top of this bracket.
this is from the OEM grill rubbing and it’s on both sides of the bracket
With some closer inspection I found the screws that hold the mesh grill on were not only coming in contact with the brace but digging into it as well. My car is accident free so nothing is misaligned or repaired.
This is the mark from the screw on rhe new grill which is where the pushing out of the grill is coming from
I have already reached out to American modified customer support who’s time zone is GMT+8 (annoying a.f.) and was told basically that I need to swap to a conversion R bumper. Which I’m not doing as I really like the lines of the stock si bumper. With that, it’s off to do some sketchy stuff doo daa.
• First I removed the bumper and got everything cleared out of the way. (I’ve already done this once and on the initial install I did cut out the center section of the bumper)
•Next I shaved down the weld with a angle grinder using a cutoff wheel on the bracket. Be sure to cut 80% through the weld.
• I took my smallest hammer and a flathead screwdriver and gave it a good tap to break the weld. This method allowed me to keep more material on the main beam that I can re work after removal.
• From here, I use a pry tool and remove the a.t.s. push clip and the push clip holding the wiring behind the beam. Based on the images I’ve seen this sensor is mounted where it’s head sticks up just past the beam.
• I then took 1 j part of the push tab off (they are a j style push clip) and reused the hole the wire was secured to and shoved it in.
• With the sensor relocated I cut 80% through the 3 welds closest to the radiator.
• Using the flathead I worked the bracket up like a hinge back and forth till it came off. Once off I used a file to smooth out the left over material. Be extremely patient on the top as this will be visible past the grill.
(You can see the sensor here in its new place)
From here it’s a simple reinstall. I chose to add some zip ties behind the grill because I don’t want to come back in here. It’s hard getting stuff done during my daughters nap time ??
Once all back together I had zero gap and zero remorse. Some will argue we need the brace but to each their own. That being said do this at your own risk and I’m not liable for any damages that may occur in you doing so. I’m simply showing what my fix was for my issue with the grill gap. Not everyone is as anal about it as I will be but I wanted it to look right and fit right. Now it does. Hopefully this helps someone as I know this was a dice roll from the min I purchased the grill.
Go easy on me lol I tried.
Grill can be found here:
https://americanmodified.com/produc...MIw4CrhIbu9gIVYRbUAR3jIAcQEAQYASABEgLsy_D_BwE
Last edited:
 , Pisses me off everytime I look at my front end. Maybe I could get it to fit better if I removed the bumper again but really hate that process.