Doc_Mello
Senior Member
- Joined
- Apr 29, 2019
- Threads
- 45
- Messages
- 4,615
- Reaction score
- 7,354
- Location
- California
- Vehicle(s)
- 2019 CBP Si Coupe
- Build Thread
- Link
- Vehicle Showcase
- 1
- Thread starter
- #1
Hey, everyone! I figured it was my turn to contribute. ? Now using this thread to detail The Hotness™️‘s build. I plan on showing more of the nuances of issues that arise with common installs, trying to answer questions i wish were answered before starting these installs. Plus, I’ll use this space for pics of Hottie. Enjoy! Questions/comments welcomed!
***TEIN Flex Z + 2020CTR & Acuity Stage 2 + Mishimoto INSTALL!
Finally was able to check off some of the installs on my Mod List, and this round includes:
- TEIN Flex Z (w/ ADS cancellers): chose this kit because it's a fantastic combo of quality, cost, and including necessary parts (like the ADS cancellers).
- 2020 CTR Shifter & Acuity Stage 2 kit: seems like the perfect set-up for a street car (of course, 'perfect' being subjective', though it seems like most are saying the full shifter upgrade can be a bit too tight and harsh), and you kinda can't really beat the total cost per upgrade potential.
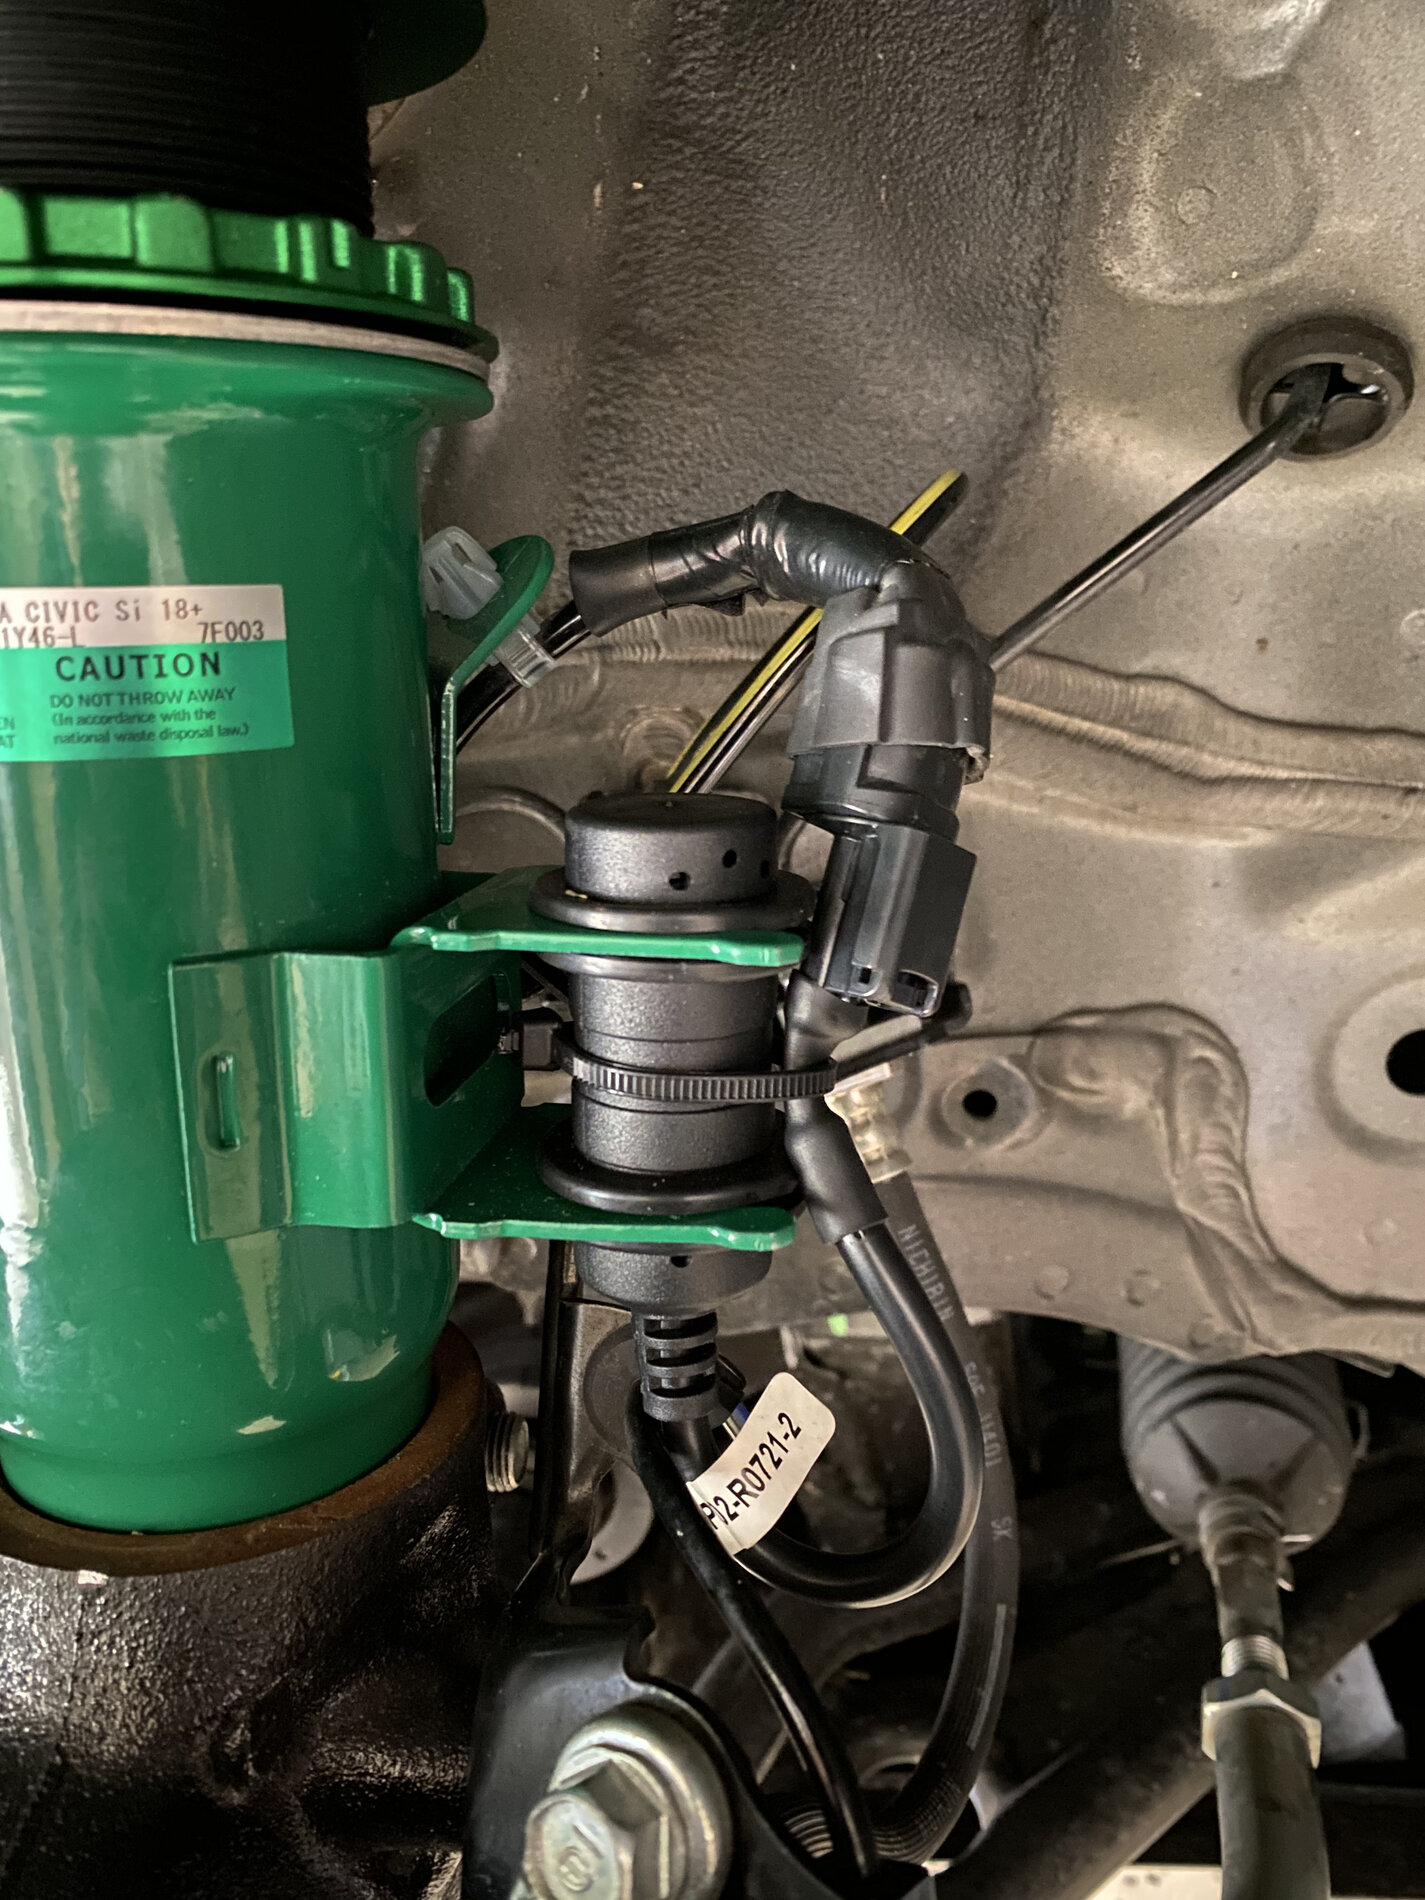
- Mishimoto SRI: definitely NOT looking for HP or TQ gains (if I was, I'd just flash the comp, and be done with it), but rather better sssSSSSSSS PSSHHHHHhhh sounds, plus it's CARB-legal!
While I'm happy to answer any questions folks might have about parts & install, I won't be going into any specific write-ups here because there are a bunch on CIVICX. I WILL, however, be filling in the gaps in knowledge that I found around the interwebs, trying to answer unknowns for which I could find no solutions/responses.
Lessons:
TEIN Flex Z Install
FRONT SET-UP
- My biggest concern was damaging my axles. Y'all, I lost sleep going over, time and again, the install procedure I synthesized from a variety of videos, plus other peoples' stories around here. Main concerns: pulling out the axles from the transaxle and/or tearing the boot on the LCA. I couldn't find any pics of the sharp metal associated with ripping the boot, so, I took a pic, along with my temporary protective solution: a five-layer 6" strip of duct tape. ? In the pic, you can see the t-bar sticking up on the LCA just underneath the axle, as if Honda was like 'FU anyone who's going to lower your car without using our complicated instructions!'. The duct tape created a leathery barrier that would stick in place to cover that whole t-bar piece, and that I could reuse on the other side of the car.


- Regarding pulling out the axles: after separating the hub from the LCA (which looks MUCH easier in videos than it actually is in real life when trying to be super-careful), I basically cradled the hub in my lap while allowing only enough play to tip the top of the hub inward and forward to allow the bottom of the strut to pop out (I had only loosened the nuts on the strut tower to allow the strut to mingle a little bit, facilitating maneuverability). Once the strut was free from the hub, I immediately placed the hub back into the LCA so it wouldn't dangle, securing it with a hand-tightened nut. ? Once the hub was secured, I tried rotating the rotor by hand to ensure it was still engaged in the transaxle, and I could see it rotating the other front rotor (I put the car in gear before starting all of the as a double-check).
- Now, some said the driver's side was the most difficult, but I found the passenger side to be hardest. The hub just seemed to have a tad less play than the other side, so, I couldn't drop the hub low enough, at least, not without other assistance. I ended up using spring compressors for this side, and had a friend step on the hub just enough to free the strut. Afterward, again, I immediately went about securing the hub back into the LCA, and checking the axle for damage. On this side, the axle did barely disconnect from the intermediary shaft, but it slipped right back in with ease. I did a series of rotations of the rotor to ensure I could still feel the transaxle, the other side was also rotating (denoting the connection through the LSD), and I also checked the axle for any weird wobbling (basically, just looking for any sign that something could be possibly damaged). Luckily, everything seemed just fine! ? As always, ensure the nipple on the rear of the strut fits into the gap on the hub's upper mount.

- I secured the EDFC cancellers with black zip-ties, and while I tried a variety of different options, I found this in the pics to be the best compromise that did not put too much stress on the wiring.
REAR SET-UP
- Inconveniently, on the coupe, there is no agreed-upon single rear jack point analogous to the front. ?? Some have said they use either of the two flat brackets on either side of the exhaust, located inward-center of the rear tires, but others have said these brackets bend over time. Even Honda shows no single point for the Si Coupe (TMK! I looked everywhere, but I'm open to being more informed on this). So, I first disconnected the rear sway bar from both sides while the car was on the ground, then did one side at a time. Because I bought the Flex Z to stance the car, I knew I also needed to adjust the rear shocks' lower bracket and locking ring along with the springs' HAS (Height Adjustment System, TEIN's term for the threaded spring perch). However, there was no info in TEIN's little (rather incomplete) manual, so, I contacted them directly, to which they replied "Yes, when adjusting the rear spring seat position on the HAS, be sure to also adjust the shock absorber length. For 5mm of adjustment of the spring seat, adjust the shock absorber 8mm. Once you've set your desired ride height, please remember to torque down the seat locks/bracket locks to the specified torque." Emphasis added. Ah ha! After doing some measurements as described in their book, I needed to shorten the shock body by 25mm, which ended to basically taking up all of the adjustment room in the lower mounting cup. I basically have the rear shocks as short as they will go (remember this is uncompressed. I'm just adjusting the lower mounting point).
- Mounting the HAS (the threaded spring perch): the HAS fits over the nub on the chassis (not the LCA), but the tolerance isn't too tight, the solution to which is provided by TEIN in the form of some double-sided tape. This tape is a PITA to work with, and after trying multiple methods, I found the best to be to wrap the upper-edges of the nub with a 1' strip of the tape, stretching the tape a bit as you go. This seemed to act as an 'adapter' of sorts to mount and hold the HAS.


- Installing the spring into the LCA: I found it easiest to first pop the lower rubber mount into the LCA, ensuring the little nipples pop into their respective holes, then twist the spring into the rubber mount until it stops.
OVERALL
- Perfect ride! Silent, solid, but totally streetable (and I have lower back issues!) No error codes, everything working swimmingly! Love it!
***TEIN Flex Z + 2020CTR & Acuity Stage 2 + Mishimoto INSTALL!
Finally was able to check off some of the installs on my Mod List, and this round includes:
- TEIN Flex Z (w/ ADS cancellers): chose this kit because it's a fantastic combo of quality, cost, and including necessary parts (like the ADS cancellers).
- 2020 CTR Shifter & Acuity Stage 2 kit: seems like the perfect set-up for a street car (of course, 'perfect' being subjective', though it seems like most are saying the full shifter upgrade can be a bit too tight and harsh), and you kinda can't really beat the total cost per upgrade potential.
- Mishimoto SRI: definitely NOT looking for HP or TQ gains (if I was, I'd just flash the comp, and be done with it), but rather better sssSSSSSSS PSSHHHHHhhh sounds, plus it's CARB-legal!
While I'm happy to answer any questions folks might have about parts & install, I won't be going into any specific write-ups here because there are a bunch on CIVICX. I WILL, however, be filling in the gaps in knowledge that I found around the interwebs, trying to answer unknowns for which I could find no solutions/responses.
Lessons:
TEIN Flex Z Install
FRONT SET-UP
- My biggest concern was damaging my axles. Y'all, I lost sleep going over, time and again, the install procedure I synthesized from a variety of videos, plus other peoples' stories around here. Main concerns: pulling out the axles from the transaxle and/or tearing the boot on the LCA. I couldn't find any pics of the sharp metal associated with ripping the boot, so, I took a pic, along with my temporary protective solution: a five-layer 6" strip of duct tape. ? In the pic, you can see the t-bar sticking up on the LCA just underneath the axle, as if Honda was like 'FU anyone who's going to lower your car without using our complicated instructions!'. The duct tape created a leathery barrier that would stick in place to cover that whole t-bar piece, and that I could reuse on the other side of the car.
- Regarding pulling out the axles: after separating the hub from the LCA (which looks MUCH easier in videos than it actually is in real life when trying to be super-careful), I basically cradled the hub in my lap while allowing only enough play to tip the top of the hub inward and forward to allow the bottom of the strut to pop out (I had only loosened the nuts on the strut tower to allow the strut to mingle a little bit, facilitating maneuverability). Once the strut was free from the hub, I immediately placed the hub back into the LCA so it wouldn't dangle, securing it with a hand-tightened nut. ? Once the hub was secured, I tried rotating the rotor by hand to ensure it was still engaged in the transaxle, and I could see it rotating the other front rotor (I put the car in gear before starting all of the as a double-check).
- Now, some said the driver's side was the most difficult, but I found the passenger side to be hardest. The hub just seemed to have a tad less play than the other side, so, I couldn't drop the hub low enough, at least, not without other assistance. I ended up using spring compressors for this side, and had a friend step on the hub just enough to free the strut. Afterward, again, I immediately went about securing the hub back into the LCA, and checking the axle for damage. On this side, the axle did barely disconnect from the intermediary shaft, but it slipped right back in with ease. I did a series of rotations of the rotor to ensure I could still feel the transaxle, the other side was also rotating (denoting the connection through the LSD), and I also checked the axle for any weird wobbling (basically, just looking for any sign that something could be possibly damaged). Luckily, everything seemed just fine! ? As always, ensure the nipple on the rear of the strut fits into the gap on the hub's upper mount.
- I secured the EDFC cancellers with black zip-ties, and while I tried a variety of different options, I found this in the pics to be the best compromise that did not put too much stress on the wiring.
REAR SET-UP
- Inconveniently, on the coupe, there is no agreed-upon single rear jack point analogous to the front. ??
Some have said they use either of the two flat brackets on either side of the exhaust, located inward-center of the rear tires, but others have said these brackets bend over time. Even Honda shows no single point for the Si Coupe (TMK! I looked everywhere, but I'm open to being more informed on this). So, I first disconnected the rear sway bar from both sides while the car was on the ground, then did one side at a time. Because I bought the Flex Z to stance the car, I knew I also needed to adjust the rear shocks' lower bracket and locking ring along with the springs' HAS (Height Adjustment System, TEIN's term for the threaded spring perch). However, there was no info in TEIN's little (rather incomplete) manual, so, I contacted them directly, to which they replied "Yes, when adjusting the rear spring seat position on the HAS, be sure to also adjust the shock absorber length. For 5mm of adjustment of the spring seat, adjust the shock absorber 8mm. Once you've set your desired ride height, please remember to torque down the seat locks/bracket locks to the specified torque." Emphasis added. Ah ha! After doing some measurements as described in their book, I needed to shorten the shock body by 25mm, which ended to basically taking up all of the adjustment room in the lower mounting cup. I basically have the rear shocks as short as they will go (remember this is uncompressed. I'm just adjusting the lower mounting point).- Mounting the HAS (the threaded spring perch): the HAS fits over the nub on the chassis (not the LCA), but the tolerance isn't too tight, the solution to which is provided by TEIN in the form of some double-sided tape. This tape is a PITA to work with, and after trying multiple methods, I found the best to be to wrap the upper-edges of the nub with a 1' strip of the tape, stretching the tape a bit as you go. This seemed to act as an 'adapter' of sorts to mount and hold the HAS.
- Installing the spring into the LCA: I found it easiest to first pop the lower rubber mount into the LCA, ensuring the little nipples pop into their respective holes, then twist the spring into the rubber mount until it stops.
OVERALL
- Perfect ride! Silent, solid, but totally streetable (and I have lower back issues!) No error codes, everything working swimmingly! Love it!
Last edited:
 ??
?? ? Installed in that order.